Hi everyone, Cuda and cuDNN are must-have tools for everyone who wants to start with Computer Vision, Deep Learning, Machine Learning using GPU (which is way much faster than using the CPU even if it’s core i7). Based on my little experience in this field. Tensorflow for example, took 10 to 15 seconds to perform recognition tasks when running on cpu, while it took 2 to 5 seconds for the same recognition tasks when running on a GPU with Cuda installed.
The first step to be able to use Cuda and cuDNN is having a nVidia graphic card. In addition, you have to install (almost) the latest nVidia driver. In this blog post I use nvidia-390 driver. I use ppa:graphics-drivers/ppa . Add the repository firstly
sudo add-apt-repository ppa:graphics-drivers/ppa
sudo apt-get update
Then execute the following command in your terminal:
sudo apt install nvidia-390
Installing CUDA-9.0
Then go to download page of CUDA Toolkit 9.0 here
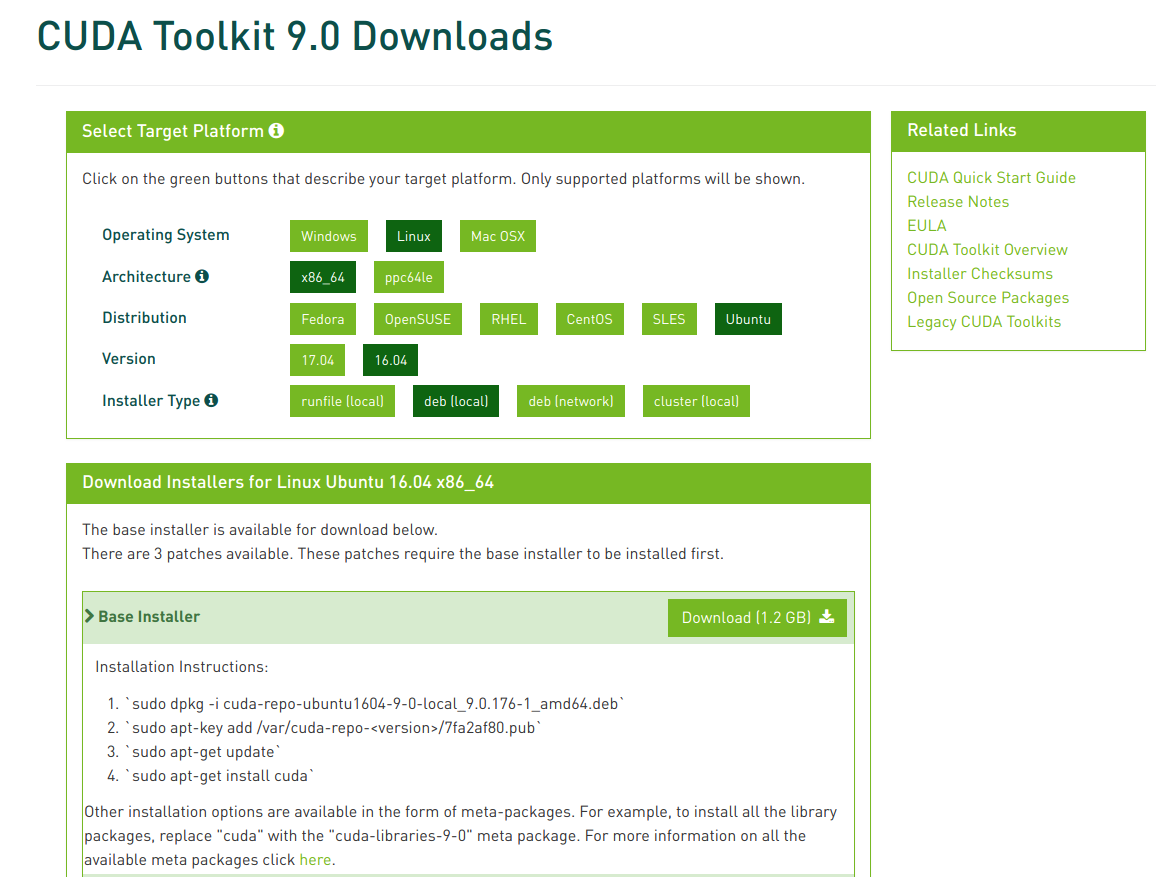
In my case I use the .deb local installation method.
Choose the architecture that suits your operating System, in my case I use x86_64, Ubuntu, 16.04 (they don’t have a version yet for 18.04, but this works fine with 18.04) and .deb(local)
After downloading the .deb file execute the following commands (As you also see on the website):
sudo dpkg -i cuda-repo-ubuntu1604-9-0-local_9.0.176-1_amd64.deb
sudo apt-key add /var/cuda-repo-<version>/7fa2af80.pub
sudo apt-get update
sudo apt-get install cuda
Don’t forget to replace -<version> in the second command with your installed version. So in our case because we are installing CUDA 9.0 the command will looks like this:
sudo apt-key add /var/cuda-repo-9-0-local/7fa2af80.pub
If you finished installing, don’t forget adding the CUDA PATH to your ~/.bashrc
sudo vim ~/.bashrc
Add the following two lines to the end of the ~/.bashrc
export PATH=/usr/local/cuda-9.0/bin${PATH:+:${PATH}}
export LD_LIBRARY_PATH=/usr/local/cuda-9.0/lib64${LD_LIBRARY_PATH:+:${LD_LIBRARY_PATH}}
There are a couple of patches for cuda. If you want to install them too, you have to download the patches and for every patch you have to execute the following commands:
sudo dpkg -i <the-file-you-have-downloaded.deb>
sudo apt update
sudo apt upgrade
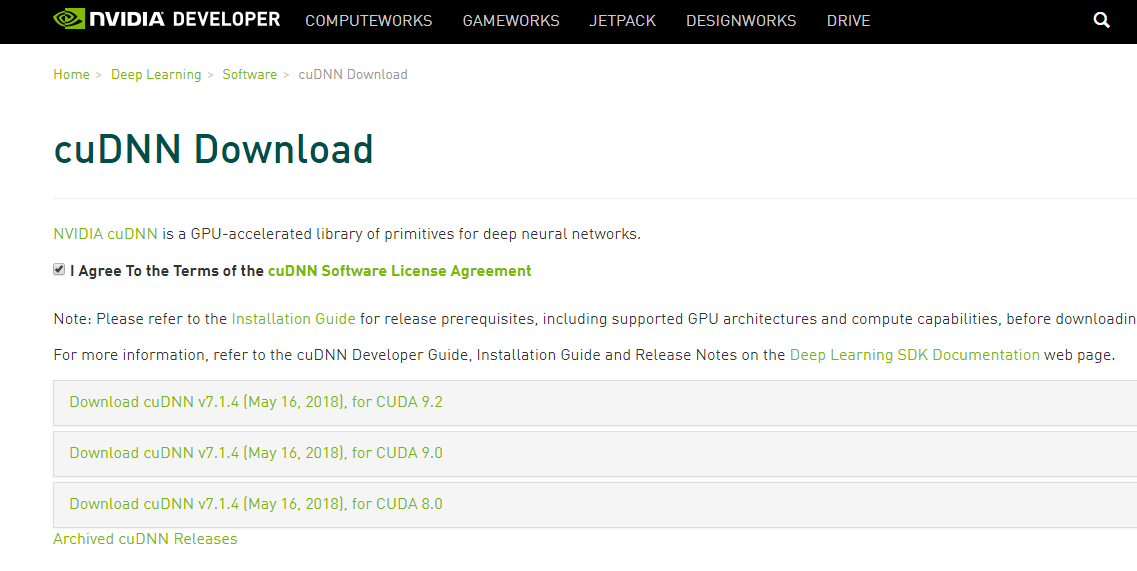
Installing cuDNN-7.1.4
To install cuDNN-7.1.4, you have to got to this link https://developer.nvidia.com/rdp/cudnn-download . You have to log-in to be able to download the cuDNN. Make an account and login and visit the link again. You are supposed to see the following screen:
 Choose cuDNN7.1.4 for CUDA 9.0 and install the following files:
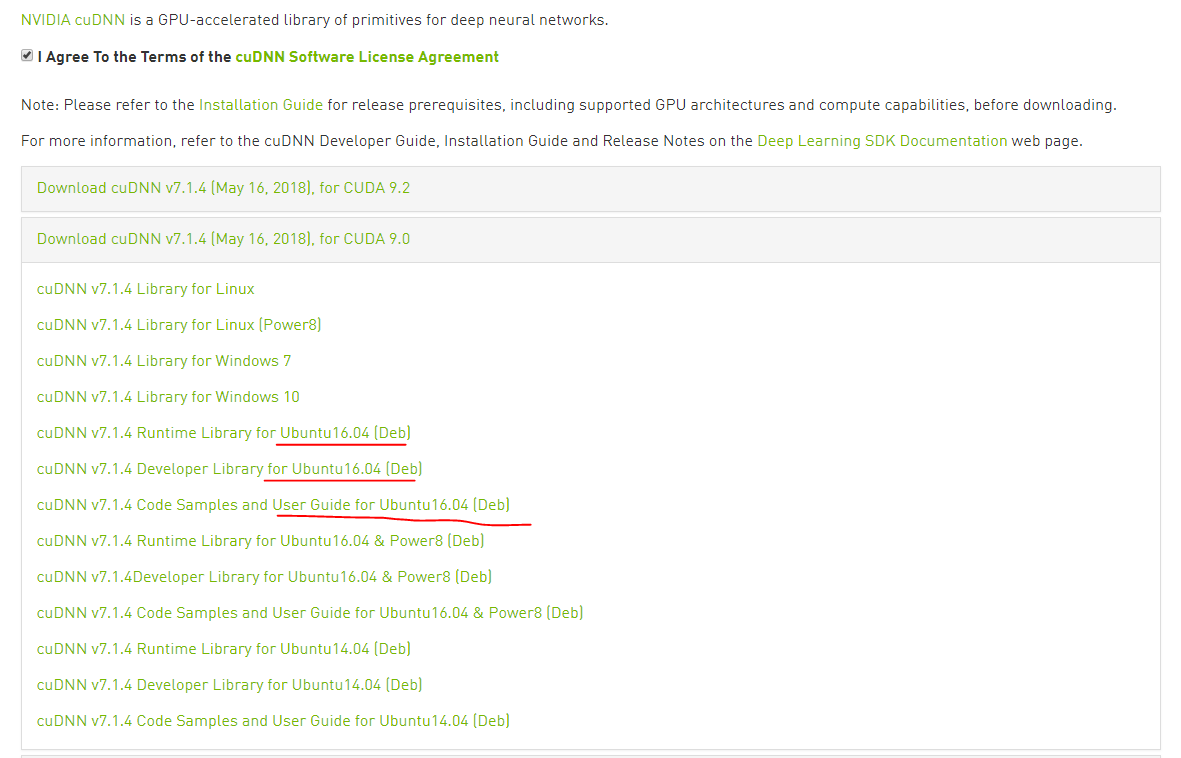 There are three files need to be downloaded:
cuDNN v7.1.4 Runtime Library for Ubuntu16.04 (Deb)
cuDNN v7.1.4 Developer Library for Ubuntu16.04 (Deb)
cuDNN v7.1.4 Code Samples and User Guide for Ubuntu16.04 (Deb)
After downloading the files. From your terminal run the sudo dpkg -i <the-downloaded-file>
sudo dpkg -i libcudnn7_7.1.4.18-1_cuda9.0_amd64
sudo dpkg -i libcudnn7-dev_7.1.4.18-1_cuda9.0_amd64
sudo dpkg -i libcudnn7-doc_7.1.4.18-1_cuda9.0_amd64
Verifying the installation
CUDA
Ensure everything is correctely installed by running the following commands
Run nvcc -V to check if CUDA is correctly installed. You must see the following output:
nvcc: NVIDIA (R) Cuda compiler driver
Copyright (c) 2005-2017 NVIDIA Corporation
Built on Fri_Sep__1_21:08:03_CDT_2017
Cuda compilation tools, release 9.0, V9.0.176
cuDNN
Run the following commands, one by one:
cp -r /usr/src/cudnn_samples_v7/ $HOME
cd $HOME/cudnn_samples_v7/mnistCUDNN
make clean && make
./mnistCUDNN
If everything is correctly installed and configured, you will see the following output:
Test passed
Please visit the official documentation for more information
https://docs.nvidia.com/deeplearning/sdk/cudnn-install/index.html#install-linux